Valorant - Fan Art - Realistic Style Haven Map
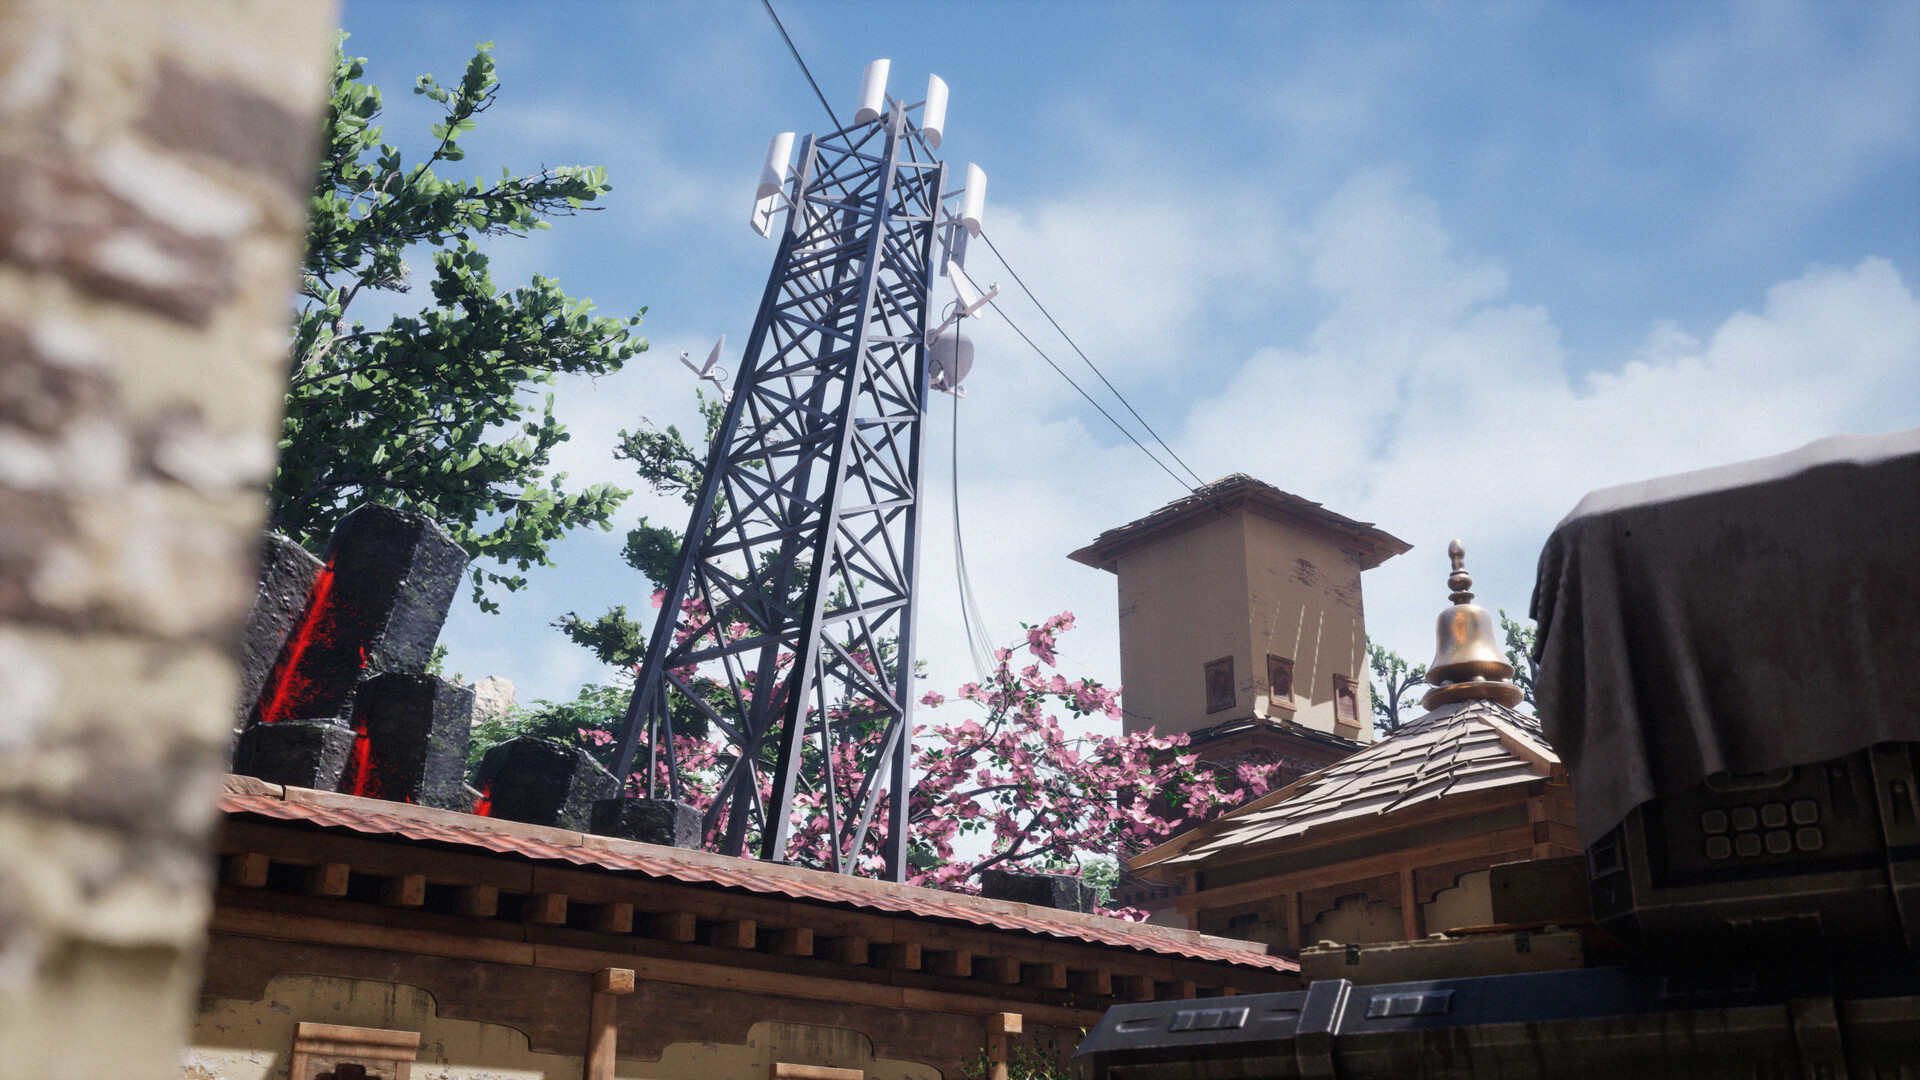
Valorant map made in Unreal Engine 4 using Megascans and some custom made 3d assets. Project took me about 3 weeks to complete. I got inspired from Quixel's Counter Strike Remake in Unreal Engine so I've tried recreating Valorant map with realistic style.
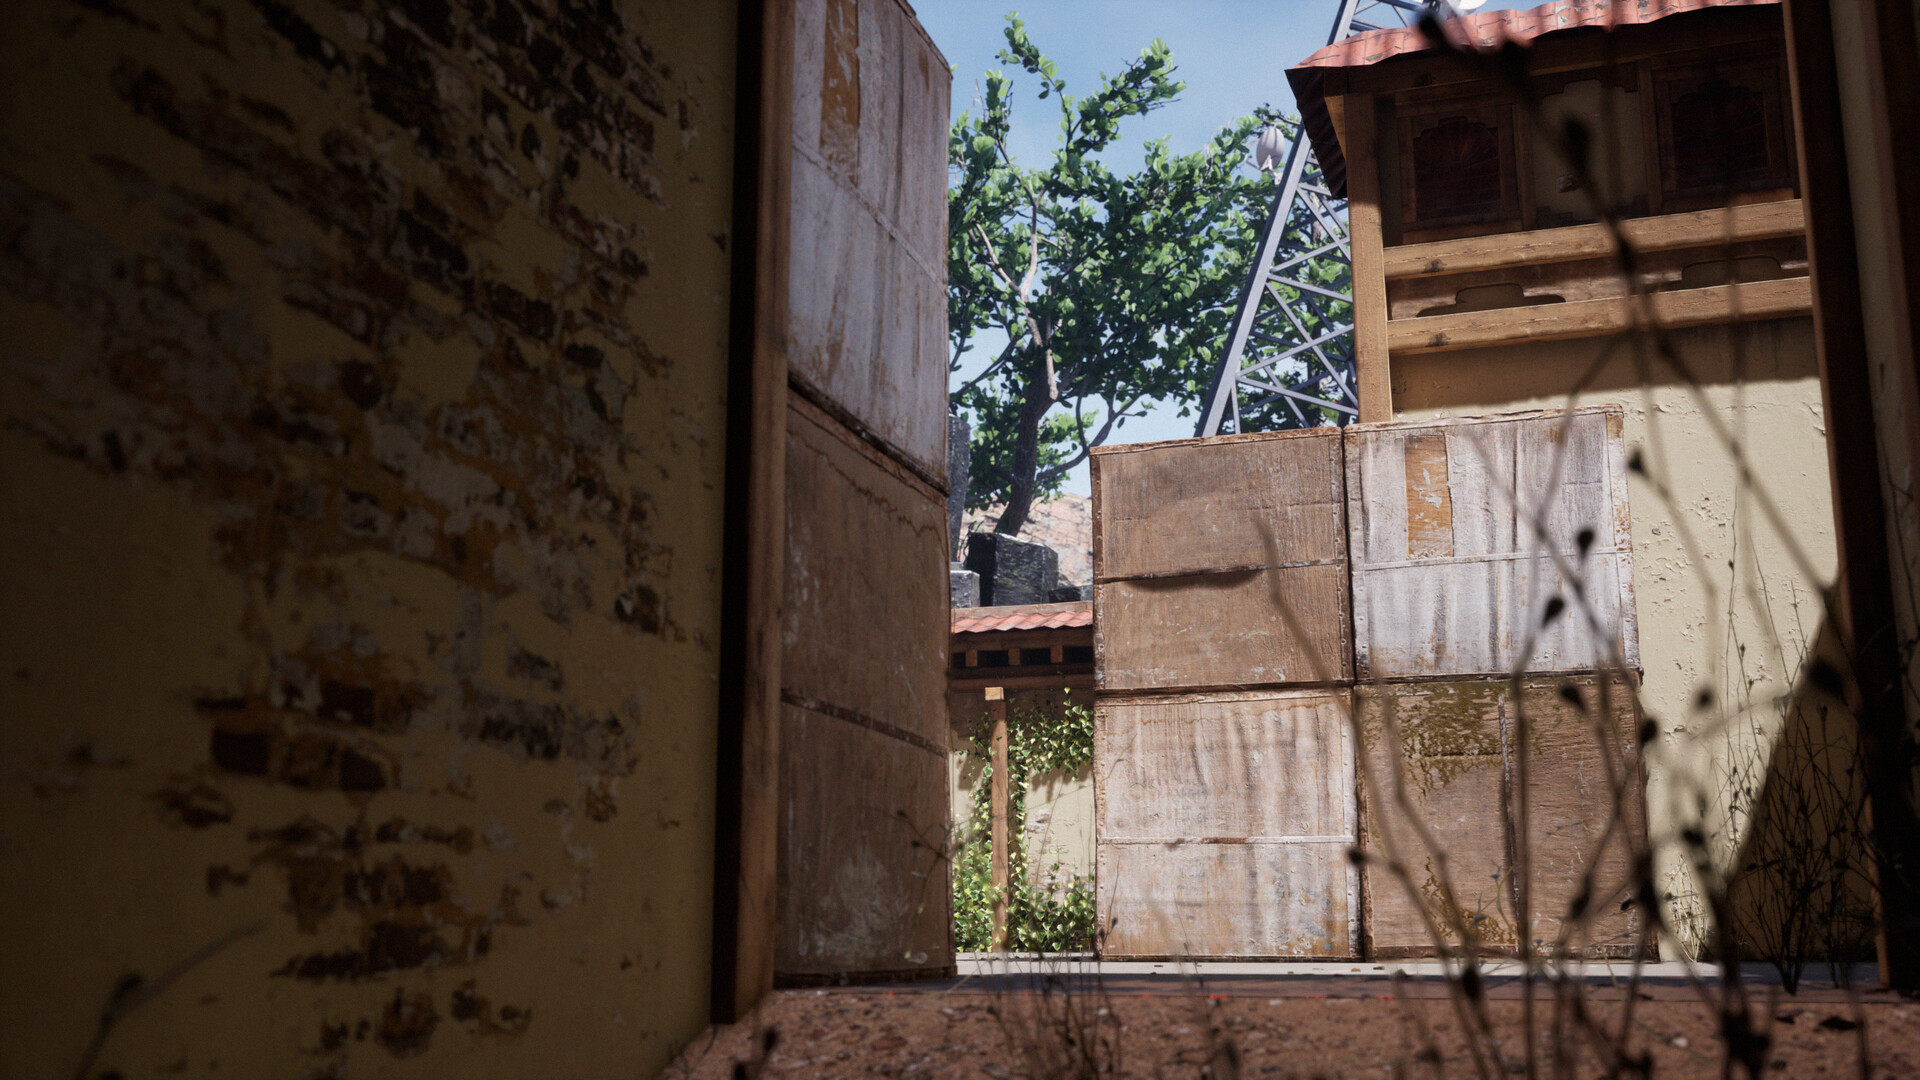
For my workflow on this project, First off, I started doing screenshots in game (Valorant), get the sense of scaling for the assets that I need to make. Then I list all of the objects needed for scene. I looked for japanese castle courtyard on Pinterest and gathered lots of references. Then I started blocking out the scene in Maya, just basic shapes, some boxes here and there and using the Unreal Engine mannequin for proper scaling. Now I browse for materials and 3D assets from Quixel Megascans and downloaded some on what looks best for the scene. I've used a decent LOD, not too low poly and not too high poly and mostly the textures are 2k.
For the assets that I can't find on Megascans like the main crate, the cloth that covers it, the radio tower, light bulbs, etc, I used Maya for modeling, Marmoset Toolbag for baking my maps and Substance Painter for texturing. Now for the assembly part, I mostly copied the walls/ building designs from the game. For the buildings, I've blended some materials using the Megascans plugin and used vertex painting on my walls and buildings. I used one wooden beam for all of the walls and buildings and used in game screenshots for reference. I've also downloaded some ivy and some dead grass on Bridge and used the Paint Foliage System to place it all over the map in Unreal so there's more feel to it. I've also downloaded some leaf atlas and tree bark materials then modeled them in SpeedTree to create my trees. Downloaded some leakage decals for more realism. For the fire on the building, I've download a fire particle system in the Marketplace so I won't have to create a new one. I used cable actors inside Unreal Engine content for, well, cables.
Now the lighting and final composition part, I've set my light source as stationary, I also added skylight and set to static for some bounce lighting. Then I've added some fog to get the sense of depth on the hexagonal rock things when looking up. Also some fog sheets. Finally, I've set up a camera for the final screenshots and added in post processing volume for color grading and then set my sequencer for the
final cinematic preview. This is my personal workflow for this scene, thanks so much and I hope you guys like it.